-
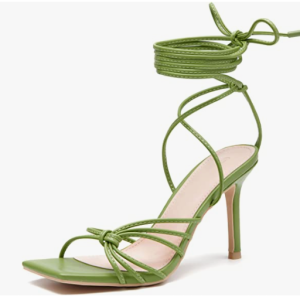
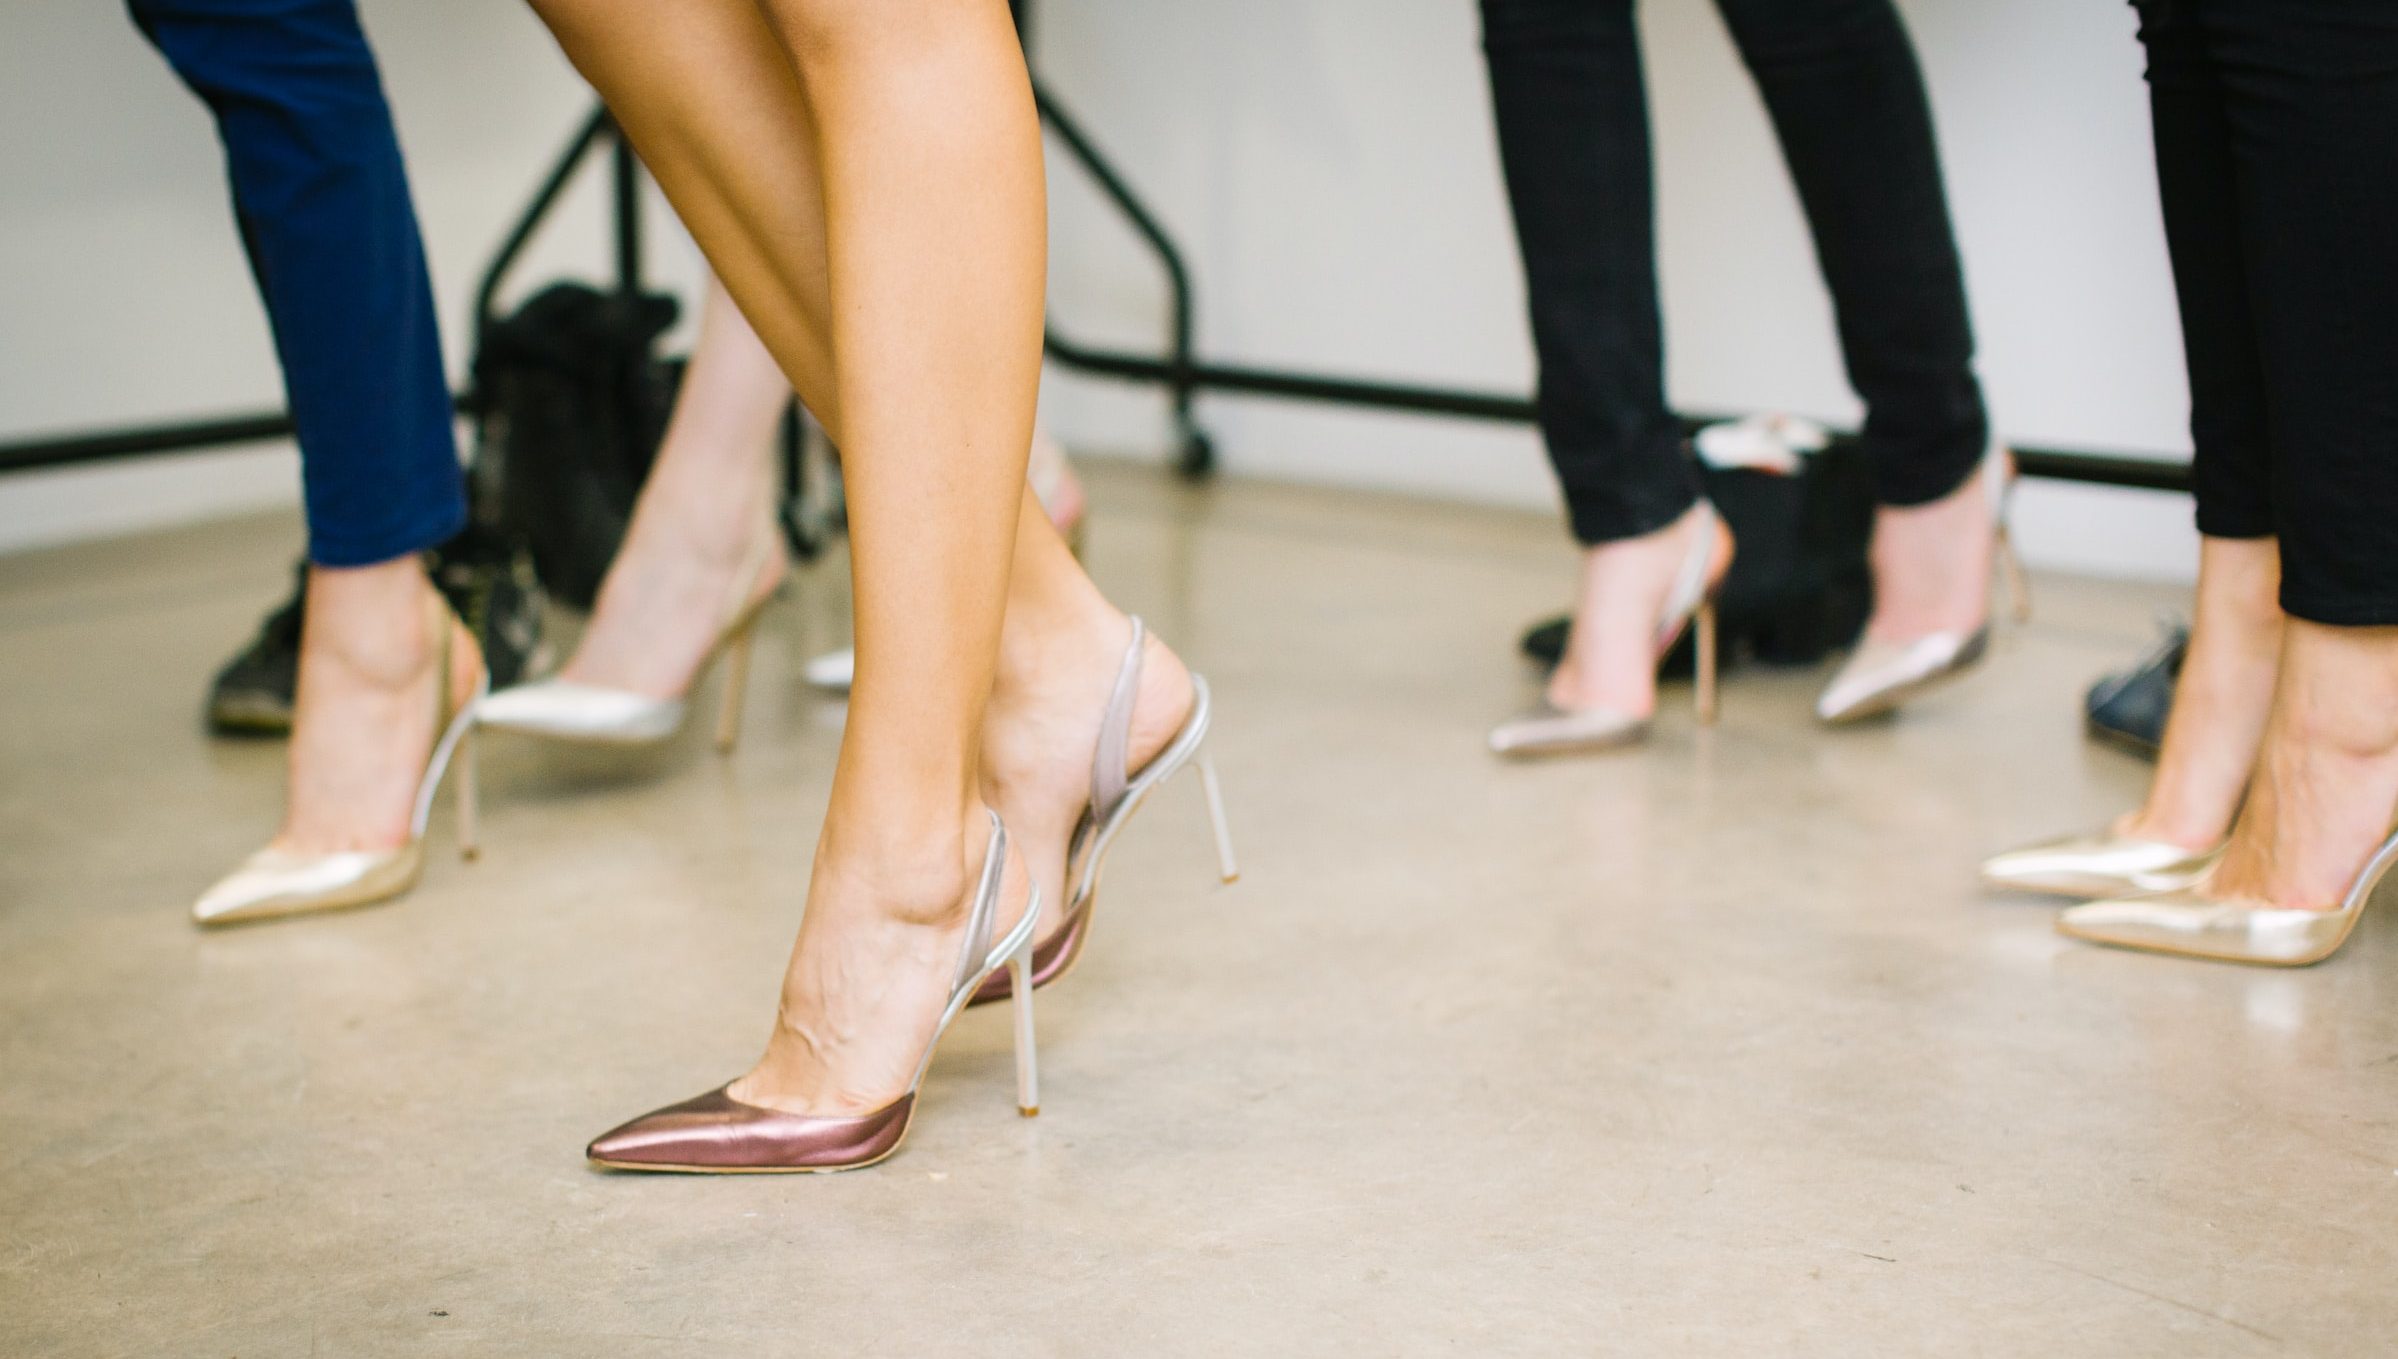
6 Best Women’s Shoes for Spring you Should Own
Spring is here, and so is our vibrant, colorful spring wardrobe. The season of spring is all about bright hues, floral prints, and bold statements – in fact, spring is that time of…
-
How to Wear Purple Shoes?
Purple is an exciting color that anyone can wear and has been trending for the last few years, which is a great way to add a little color to any woman’s wardrobe. They’re…
-
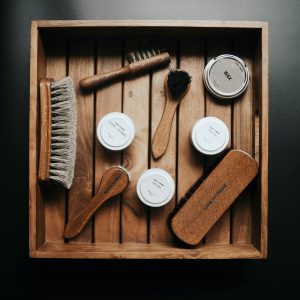
How to Use Them? Shoe Cream Vs Shoe Wax!
Considering how leather shoes are fervently increasing in price, you don’t want to show even the slightest disrespect to your pair. I love leather shoes, and they should be treated like royalty (because…
-
5 Useful Tips to Buy Shoes Online in 2023
Online shopping has now become the choice of most people. This is because it is very convenient and time-saving. However, there are also uncertainties that lead people to purchase something online and then…
-
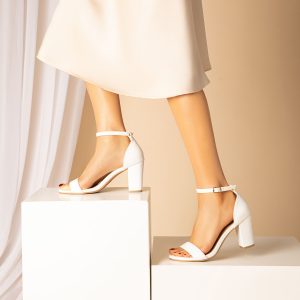
Things You Should Know — How to Make Sandals Fit Properly?
Wearing a comfortable pair of sandals is very important for walking all day long. This is especially true in the summer heat when you can give your feet a breather. However, if your…
-
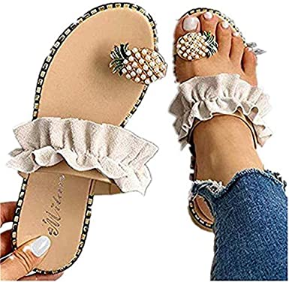
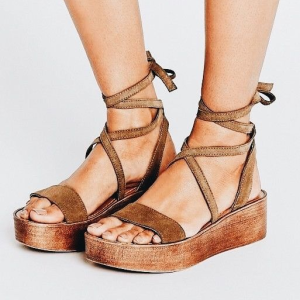
10 Types of Sandals You Should Know in the 2023 Summer-Part 2
Do you already have sandals to wear for the summer of 2023? If not, check out this article. We will introduce 5 different types of sandals you should know for summer 2023 part…
-
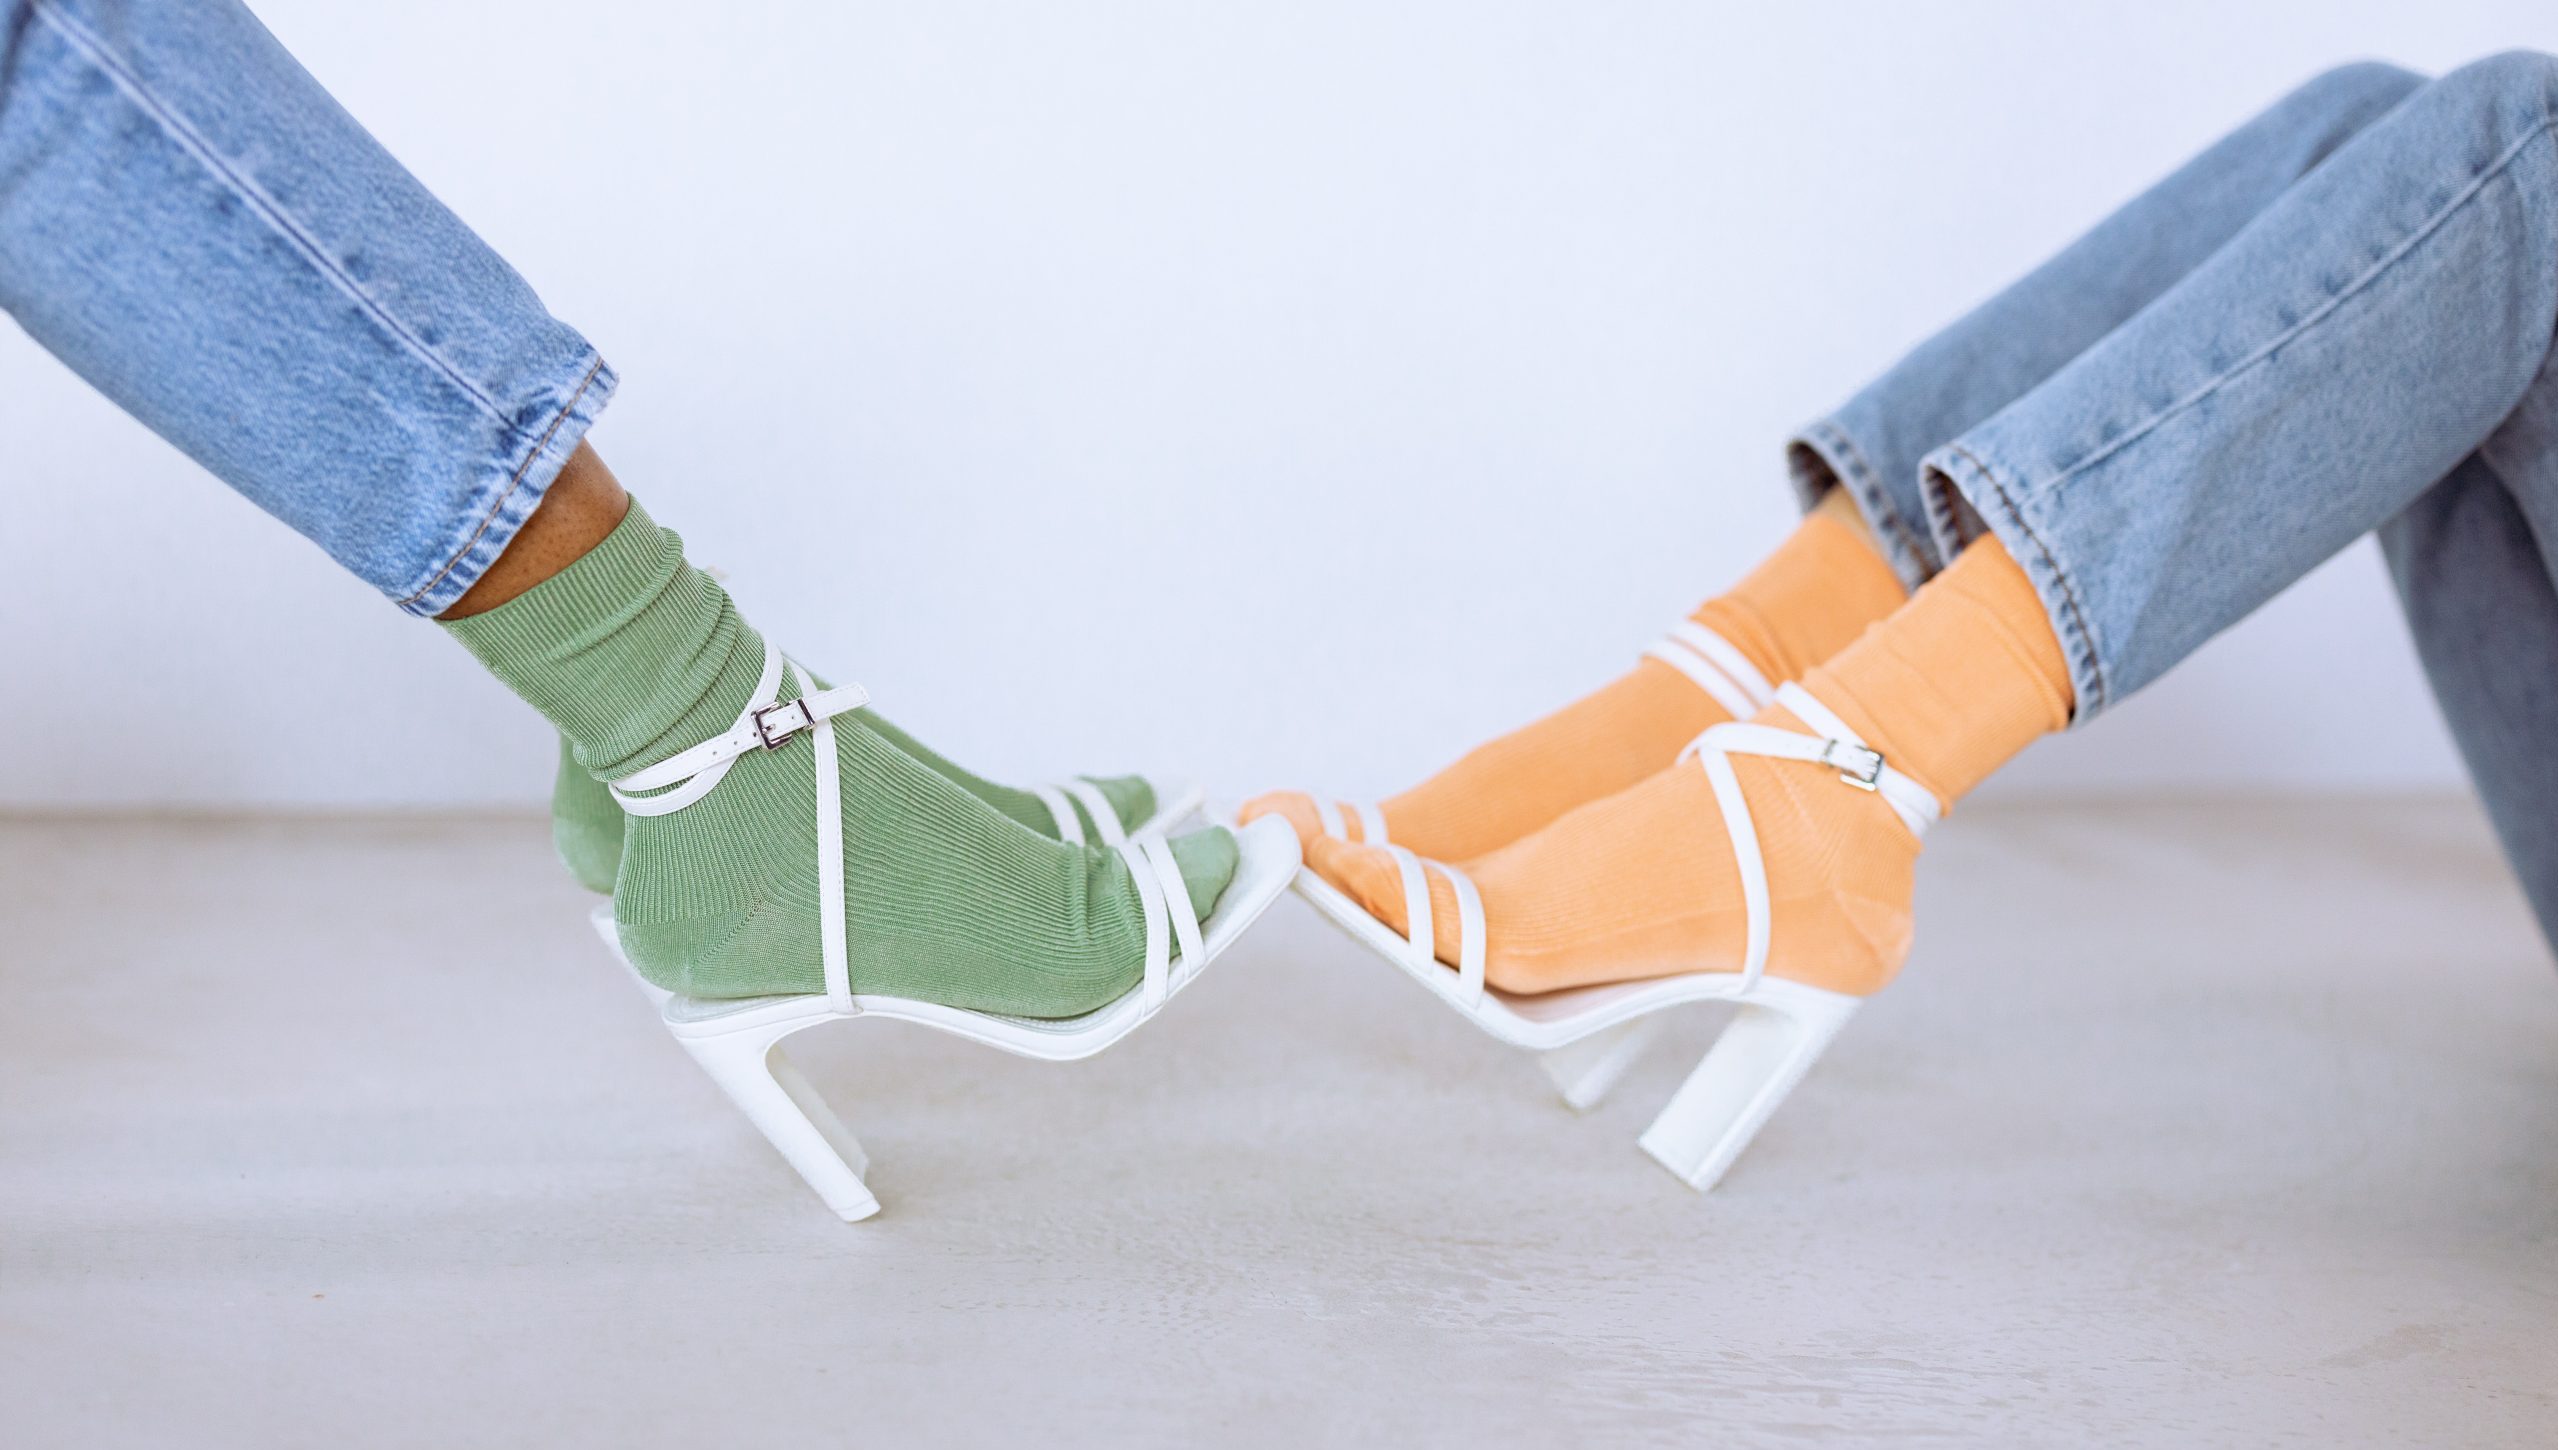
10 types of Sandals You Should Know in the 2023 Summer-Part 1
Sandals are a must-have for every woman. Many different types of sandals are perfect for the hotter months, bringing the temperature down and adding coolness to the heat. For those who sweat easily,…
-
How to Organize a Shoe Closet
Since shoes take up a lot of wardrobe space, how to quickly find a pair of shoes you want to match when choosing shoes? This can discover the importance of organizing a shoe…
-
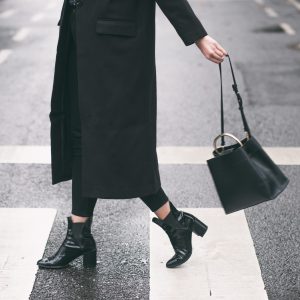
How to Wear Classic Black Shoes in 2023?
Have you ever gone out wearing a pair of black shoes that are the same as others? Black is the basic color. Black shoes are forever classic, but they don’t stand out from…
-
How to Choose Women’s Sandals for Big Feet
Every woman can find a pair or two of sandals in her shoe cabinet. Looking disappointed with having wide feet? Do not worry! You don’t have to feel bad about it. From time…
-
5 Amazing Flat Sandals for Seaside Holiday
Do you have any flat sandals in your shoe cabinet? One of the most important pieces of luggage for a beach vacation is a pair of stylish and comfortable sandals. You want your…